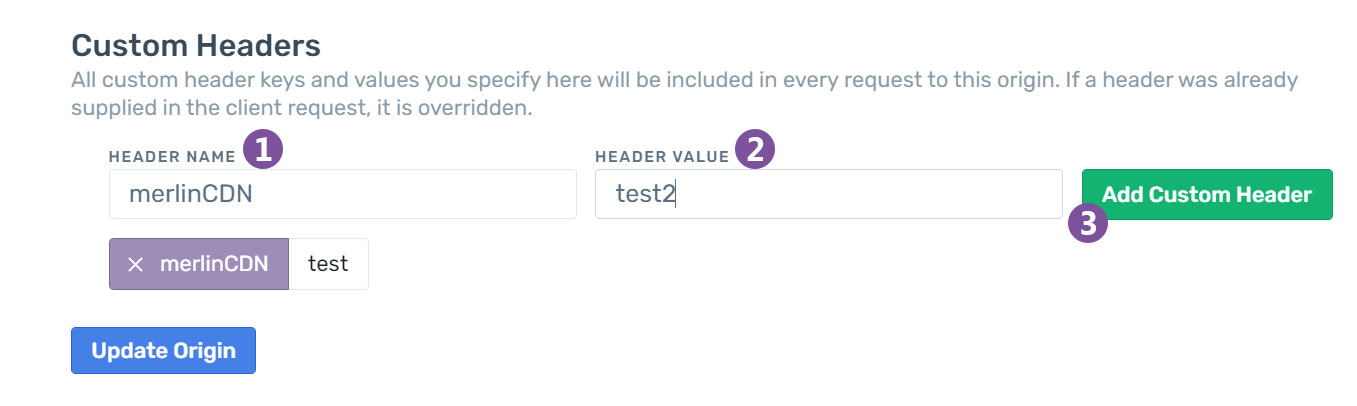
You can configure and update Custom Header in Add Origin and Edit Origin screens by following the steps outlined below.
- Open Add Origin or Edit Origin screens
- Scroll down the page to access Custom Headers section
- Header Name: Type the custom header name that is set on your Origin
- Header Value: Type its value
- Add Custom Header by clicking the button
- Repeat steps 1 to 3 to add more custom headers
Added items will appear with an X icon next to them. Clicking on the X will remove the custom header from the Origin settings.
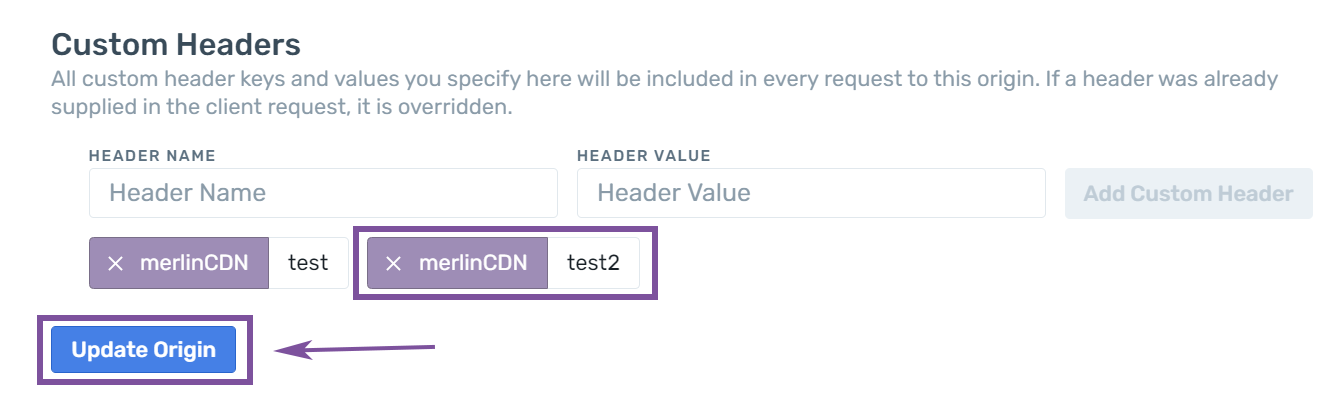
After clicking the Add Custom Header button, you may see that the new header is added below. You can delete the added custom headers by clicking the X icon on the right-hand side of the custom header.
After adding the custom headers, you should click Update Origin button to save the changes.
Comments
Please sign in to leave a comment.